I have a decent amount of data on my laptop, from my music to admin to work, and I’ve lost my share of irreplicable data to know better than to not back it up (RIP family photos that lived on my mom’s laptop when 12 years old clueless me installed Linux, I’m still sorry).
In my case, I’ve been using Kopia for a few years now to manage my backups. I was looking at a couple of options at the time and being a tad bored of restic, borg and other “solid” solutions, I decided to try Kopia.
It’s be 3 years now and Kopia delivered for me. I’ve restored cherrypicked data to test things (remember: backups don’t exist until you’ve tested them) and entire backups after replacing my machine main drive.
The only issue I found with this solution is that it’s so “set and forget” that almost any time I need to do something with it, I have to get back to the documentation to remember how it works. That’s particularly the case when I’m setup up a new device or migrating a service to a new home.
So this is my cheatsheet. I hope this is useful to someone.
NOTE: This article It doesn’t cover how to setup a Kopia repository for the first time as the Getting Started Guide does that pretty decently. This is mostly for those time when you’re setup up a new laptop, replacing your drive, or moving services to another server and looking to reconnect to an existing repo and setup Kopia to continue adding backups
For the purpose of this I’m going to assume you already have a functional Kopia repository somewhere and that you’ve destroyed your laptop. The goal is to 1/ restore your data and 2/ setup Kopia so that it continues doing the great work it’s been doing. Commands should be the same for Linux/MacOS/Win.
Connecting to your repository
So the first step is to connect to your repository using kopia repository connect:
kopia repository connect sftp \
	--path=/ --host=YOURHOST.COM \
	--username=YOURUSERNAME \
	--keyfile=/path/to/.ssh/id_private_key \
	--known-hosts=/path/to/.ssh/known_hosts \
	--port=23
In this instance I’m connecting via SFTP. In my experience you can connect to an existing repository using a different method from the one you were using before but your milage may vary. Just replace sftp by your preferred connection option. Note that parameters will vary depending on the method selected. Using webdav won’t require an SSH key for example.
A couple of important parameters for SFTP:
- path: path to the repository on the server
- host: the URL of your repository
- username: your SSH username
- keyfile: path to your SSH private key
- known-host: I’ve had some real trouble with this one before. I found that connecting with SSH before trying to connect with Kopia will avoid issues by adding the host to your known hosts. You can then add the path to the known-host file
- port: SSH port to connect to your repository. Again, this is an important one. I’m using a Hetzner storage box and port 22 and port 23 don’t expect the same SSH key format so make sure you got that right.
If you prefer using connecting using a password (I wouldn’t recommend that, SSH key a more secure), here’s what the command will look like:
kopia repository connect sftp \
	--path=/ \
	--host=YOURHOST.COM \
	--username=YOURUSERNAME \
	--sftp-password=PASSWORD \
	--known-hosts=/path/to/.ssh/known_hosts \
	--port=22
Also not that you can use the from-config option to connect using a config file instead. This is particularly useful if you are using Kopia UI or had your config stored in a file already. On windows this would something like that:
./kopia.exe repository connect from-config --file=C:\Users\USER\AppData\Roaming\kopia\repository.configIf everything went well, you should see be asked for your Kopia repository password. Enter it and check your latest snapshots using the snapshot command. :
kopia snapshot list --allNote: The parameter
--allis important here as it specify all backups, not only those made by the currently connected user. Without it, you won’t get any result
The result should look something like this:
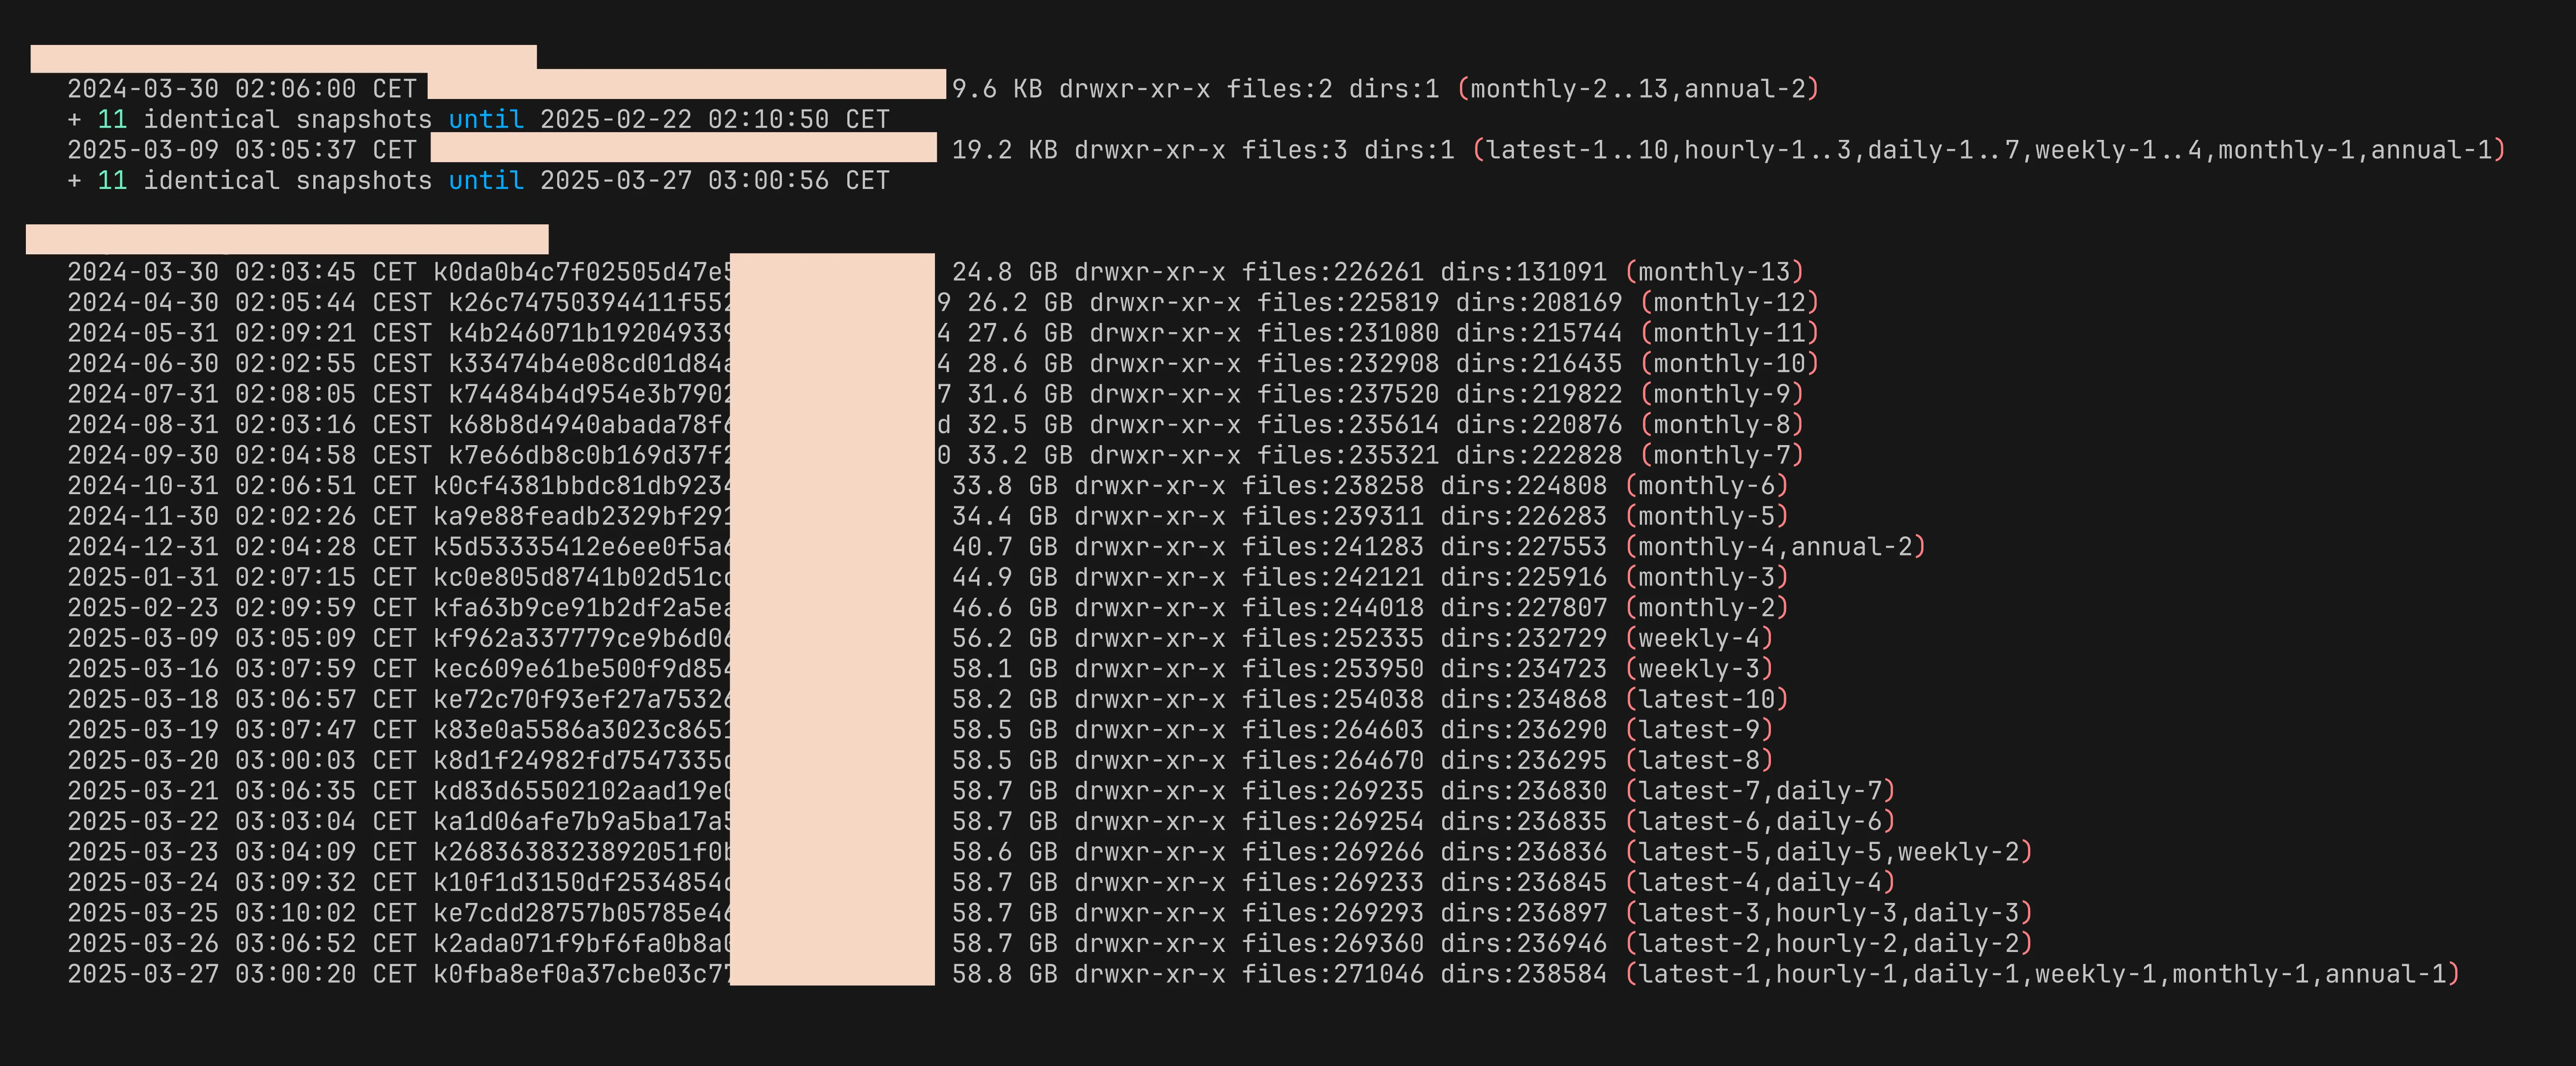
It will be organised by user and directories.
Restoring data
If you’re working from a new machine/server and want to restore your data, now is the time to do it. To do so, use the kopia restore command to restore the latest snapshot. You’ll find the ID for this snapshot in the output of the last command.
kopia restore "snapshot-id" "target-folder"Depending on the size of your backup this can take some time… I’ve also had instance where the cache got pretty out of control and ended up filling the disk, preventing the restore from completing. If that’s a problem for you too, check the cache command.
Re-setting up your backup policy and moving history
This is usually the part where I struggle as I want to 1/ setup Kopia to backup anything that changes on this new machine and 2/ put everything under the same user so that both snapshots made from the old and new machines are owned by the same user.
IMPORTANT: I initially got quite confused with the concept of Policies thinking a policy would also take care of regular snapshots. Turns out it’s not the case.
Policies define what to include/exclude, retention period and whether to use compression. While they do HAVE a scheduling option, in the words of the developer himself: “Schedule parameters only take effect when you use
kopia serverorKopiaUIand is mostly helpful on Windows, where neither cron nor systemd are available”.So to summarize: set up your policies once (they’re stored in the repository) but setup scheduling every time you setup a new machine
So steps will actually depend on your environment here. I’ve not used Kopia with Mac so not information for that OS here but I assume it the same as for Windows if you’re using Kopia UI.
On linux using shell scripts & cron
On Linux I use a mix of shell script and cron to schedule the backups.
First I create a script in /usr/local/bin/kopia-backup.sh (or wherever your prefer) and add the following, adapting with the parameters you used to connect previously (you can again use the from-config option if you prefer to store your connection config into a file):
#!/bin/bash
### Kopia backup script

### Connection to kopia repository
echo "Connecting to sfpt repo"
kopia repository connect sftp \
        --path=/ \
        --host=YOURHOST.COMM \
        --username=USERNAME \
        --keyfile=/path/to/.ssh/id_private_key
        --known-hosts=/path/to/.ssh/known_hosts
         -p "REPOSITORY_PASSWORD"

### Repeat this step for all your directories
echo "Creating folder_1 backup..."
kopia snapshot create /path/to/folder_1
Make it executable: chmod +x /usr/local/bin/kopia-backups.sh On Debian/Ubuntu, create a service /etc/systemd/system/kopia-backups.service` with:
[Unit]
Description=kopia backup
Wants=network-online.target
After=network-online.target
ConditionACPower=true
# OnFailure=ntfy@failure-%p.service
# OnSuccess=ntfy@success-%p.service

[Service]
Type=oneshot

# Lower CPU and I/O priority.
Nice=19
CPUSchedulingPolicy=batch
IOSchedulingPriority=7

IPAccounting=true
PrivateTmp=true
Environment="HOME=/root"

### Replace location if you've put your script somewhere else
ExecStart=/usr/local/bin/kopia-backups.sh
And create a time with nano /etc/systemd/system/kopia-backups.timer with
[Unit]
Description=Run kopia backup

[Timer]
OnCalendar=*-*-* 02:00:00
RandomizedDelaySec=10min
Persistent=true

[Install]
WantedBy=timers.target
This service will run the backup script every day at 02:00am.
You can then enable the newly created service with sudo systemctl enable --now kopia-backups.timer and check that the timer is there with systemctl list-timers.
Windows with Kopia UI
On Windows, when using Kopia UI, you basically have to re-create the policies one by one.
Moving the snapshot history
Finally we’re moving the snapshot history to the user that is now making the backups. This is not mandatory by any means but if you’re replacing your main machine it makes sense that it takes over the existing snapshots.
Try this command first:
kopia snapshot move-history USER@HOST --dry-run- USER is your… username
- HOST will be the hostname of your machine. On windows it’s called system name or device name and you can find it in System info. On MacOS and linux simply open a terminal and you should have both username and hostname
If you’re happy with the result of the command, remove dry-run and enjoy!